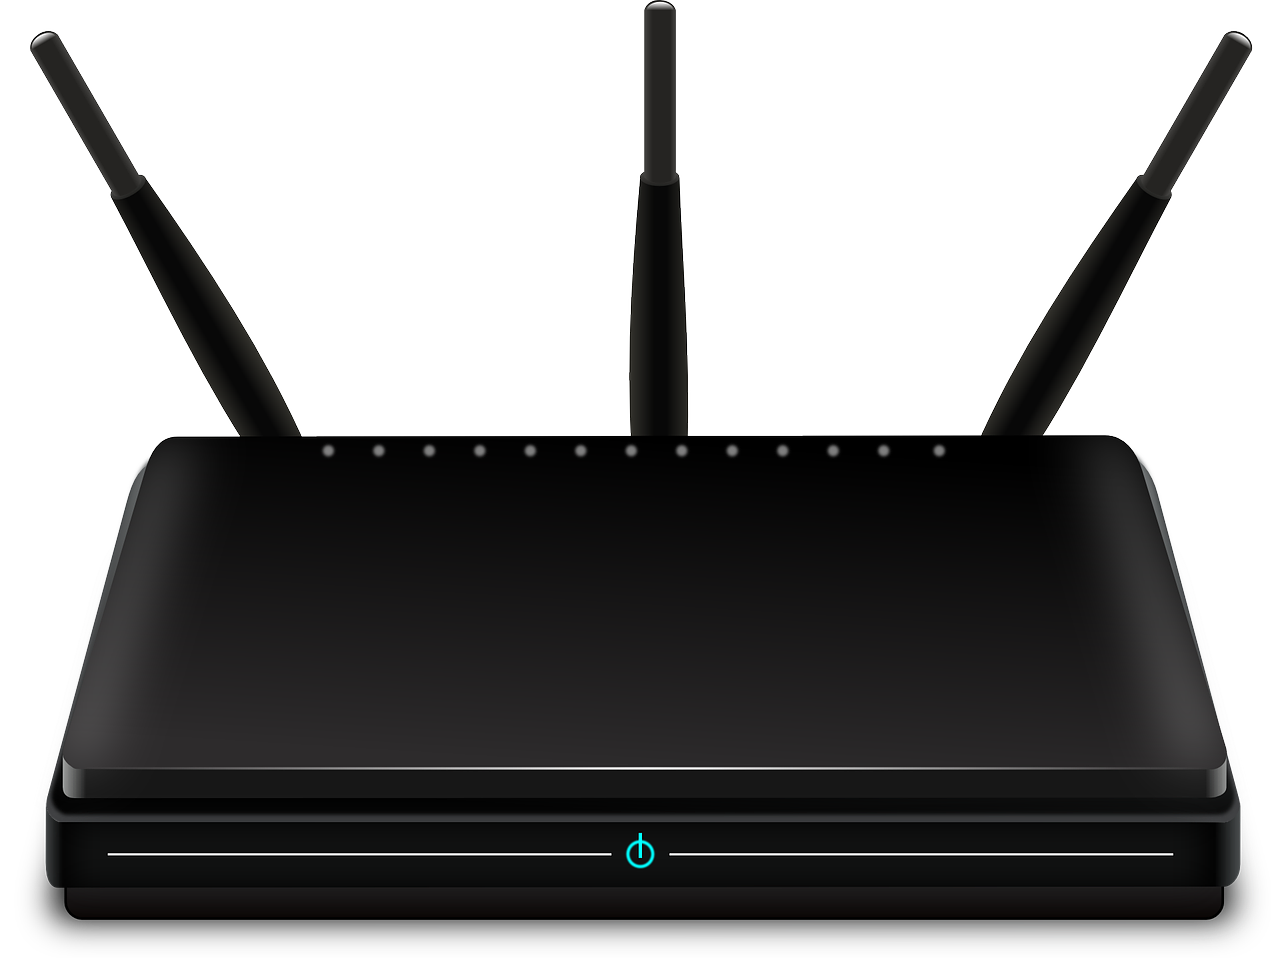
“A strong WiFi signal makes for a happy home,” should be the new adage for the 21st Century. At least that’s been my experience based on the turmoil my own home falls into when the WiFi is not working properly!
Here are some tips for improving the range of your home WiFi setup.
Note: This trick works best with a wireless router that has external antennas. If your WiFi router doesn’t have antennas, we also provide tips on how to improve home WiFi signal in the 2nd half of the article.
Thanks to PC’s, smartphones, laptops, tablets, iPads, iPods and other mobile gizmos, a strong WiFi signal has become a necessity for modern life.
Everyone in the family now depends on a mobile device to listen to music, binge-watch the latest TV series and communicate with friends.
Beware the WiFi “Dead Zone”
However, it’s also a fact of life in the 21st Century that your home WiFi signal is not always reliable. There always seems to be one or two “dead zones” in the house where there is just no WiFi signal.
It’s annoying for whoever enters a dead zone, and it’s also a challenge for whoever is tasked to somehow solve the problem!
And, unless your hobby is wireless networking, setting up a wireless bridge or repeater is time-consuming and frustrating.
In today’s edition of Tech Corner we have come up with a nifty solution for fixing WiFi dead zones.
How to Extend Your Home WiFi With A Soda Can
If you can believe it, all it takes to extend your WiFi signal is an empty soda can. This trick takes about two minutes to do, and only requires everyday household objects.
Note: as mentioned, for this trick to work, you’ll need a router with an external antenna.
What You’ll Need
- A clean soda can
- A pair of sharp scissors
- A sharp “box cutter” utility knife
- Some mounting putty
- A router with an external antenna
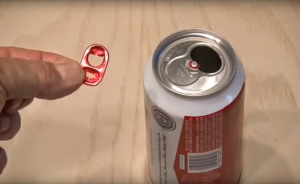
Step 1: Prepare Your Can
Any clean, empty and dry soft drink can will do. The only preparation you need to do, apart from washing it, is to remove the tab.
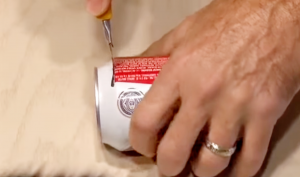
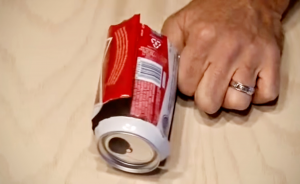
Step 2: Cut the Base of the Can Completely Off
You’ll want to saw off the bottom of the can. You can do this with a box cutter or Exacto knife.
NOTE: Don’t cut off the top of the can—the hole in the top of the can plays an important role in our homemade antenna.
Step 3: Cut Off *Most* of the Top of the Can
Using your utility knife, cut most of the top of the can off. Leave about two centimeters of can, right behind the hole in the top.
Step 4: Cut Open the Can
Cut along the middle of the can in a straight line, opposite to the piece of metal attaching the base.
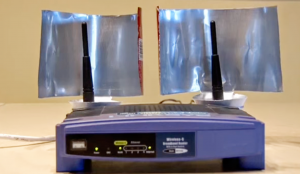
Step 5: Make Your Antenna
Being careful, open up the middle piece of metal by bending it until it vaguely resembles the shape of a radar dish.
Affix some mounting putty to the bottom and slide over the antenna of your WiFi router. If you have two router antennas, try making two pop-can boosters!
If you try this out, let us know how it works by sending an email to newsletter@compuclever.com.
More Tips for Improving Your Home WiFi Signal
Here are a few additional tips for improving your home Wifi signal:
1) Make sure your WiFi router is located in a central location
If you can, make sure the router is located in the center of your house, on a top floor. Radio waves best travel down and laterally.
2) Make sure the router is located as high as possible
The WiFi router should be located off the floor, ideally on a wall mount or high shelf.
Also, make sure there are no large items of furniture blocking the signal if possible.
3) Keep away from metal… and mirrors
Metallic surfaces, such as filing cabinets will affect your WiFi signal. Mirrors will as well.
Have a request for Tech Corner? Email me at newsletter@compuclever.com.

