Sometimes it’s the little things that optimize your PC and improve Windows performance. Ideally, using the computer should be a painless, fluid experience, but even with all of the advances of Windows 7, it can still take time to get things just right.
Take printing, for example. Often the printer default is set to “color”. This can be kind of expensive (and ultimately annoying), especially if you’re printing out something for your records, or as a first draft that you intend to correct and then revise once again on the computer. When the default printer setting is color, every time you print a document from Windows, you need to manually set the printing preferences to black and white, to avoid wasting expensive color ink. Before you know it, your color ink cartridge is empty, which often means you won’t even be able to use your printer at all!
A good way to solve this problem is to have your printer default to black-and-white. That way, everything will print black and white unless you manually set it to color, which is much more convenient than the other way around.
How to set the printer default to black-and-white on Windows 7:
1. Click the “Start” menu button and double-click Control Panel.
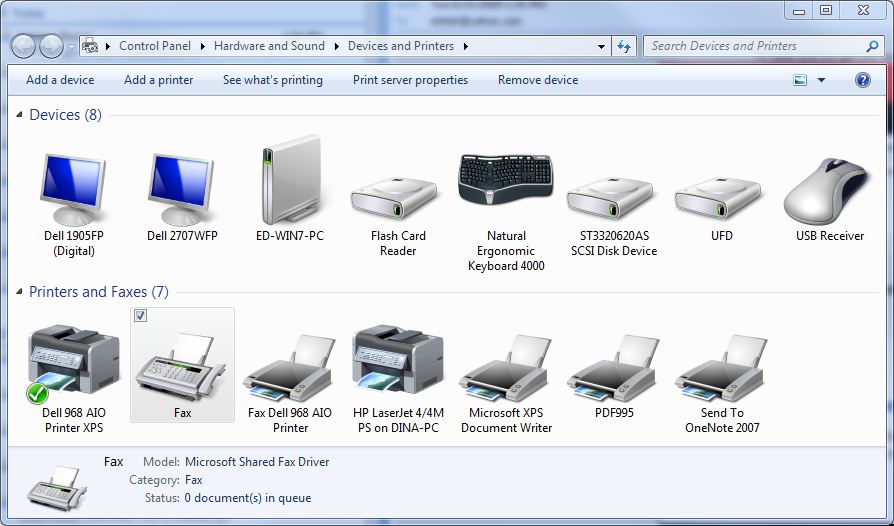
2. Look for the icon that says Devices and Printers and double-click it.
3. You should now see a list of printers. Find your default printer (the one your computer uses when printing), right-click it, and select on Printer Properties.
4. When the multi-tabbed properties dialog box appears, click the “General” tab, then click the “Preferences” button. Look for a color setting and set your printer to default to Greyscale (or black-and-white) printing. When you are done press “OK”.
Now your printer will default to black and white instead of color, and that should save you time, ink and money!
– Nevin Thompson frequently blogs about how to improve computer performance

